Great electrical connections are engineered, not improvised. A proper crimp creates a gas-tight, low-resistance joint that resists vibration and heat. If you are new to wiring or connectors, mastering the tool that makes this possible is the fastest way to professional results. This beginner-friendly tutorial introduces the essentials of crimping tools, from basic handheld ratcheting models to die selections for common terminals. You will see how each choice, tool, die, terminal, and wire gauge, influences safety, reliability, and signal integrity.
By the end, you will know how to identify terminal types, select the correct cavity for the conductor and insulation, set strip length, and stage the wire for full barrel engagement. You will learn safe operating technique and ratchet mechanics, and when using a crimping tool apply even pressure through the complete cycle. We will cover inspection checkpoints, bellmouth and flare, conductor brush, insulation support, simple pull testing, and common failure modes. You will also get maintenance tips, cleaning, light lubrication, quick calibration checks, and a step-by-step workflow you can repeat with confidence.
Understanding Wiring Solutions and Crimping Tools
Tec-Stop’s approach to reliable wiring solutions
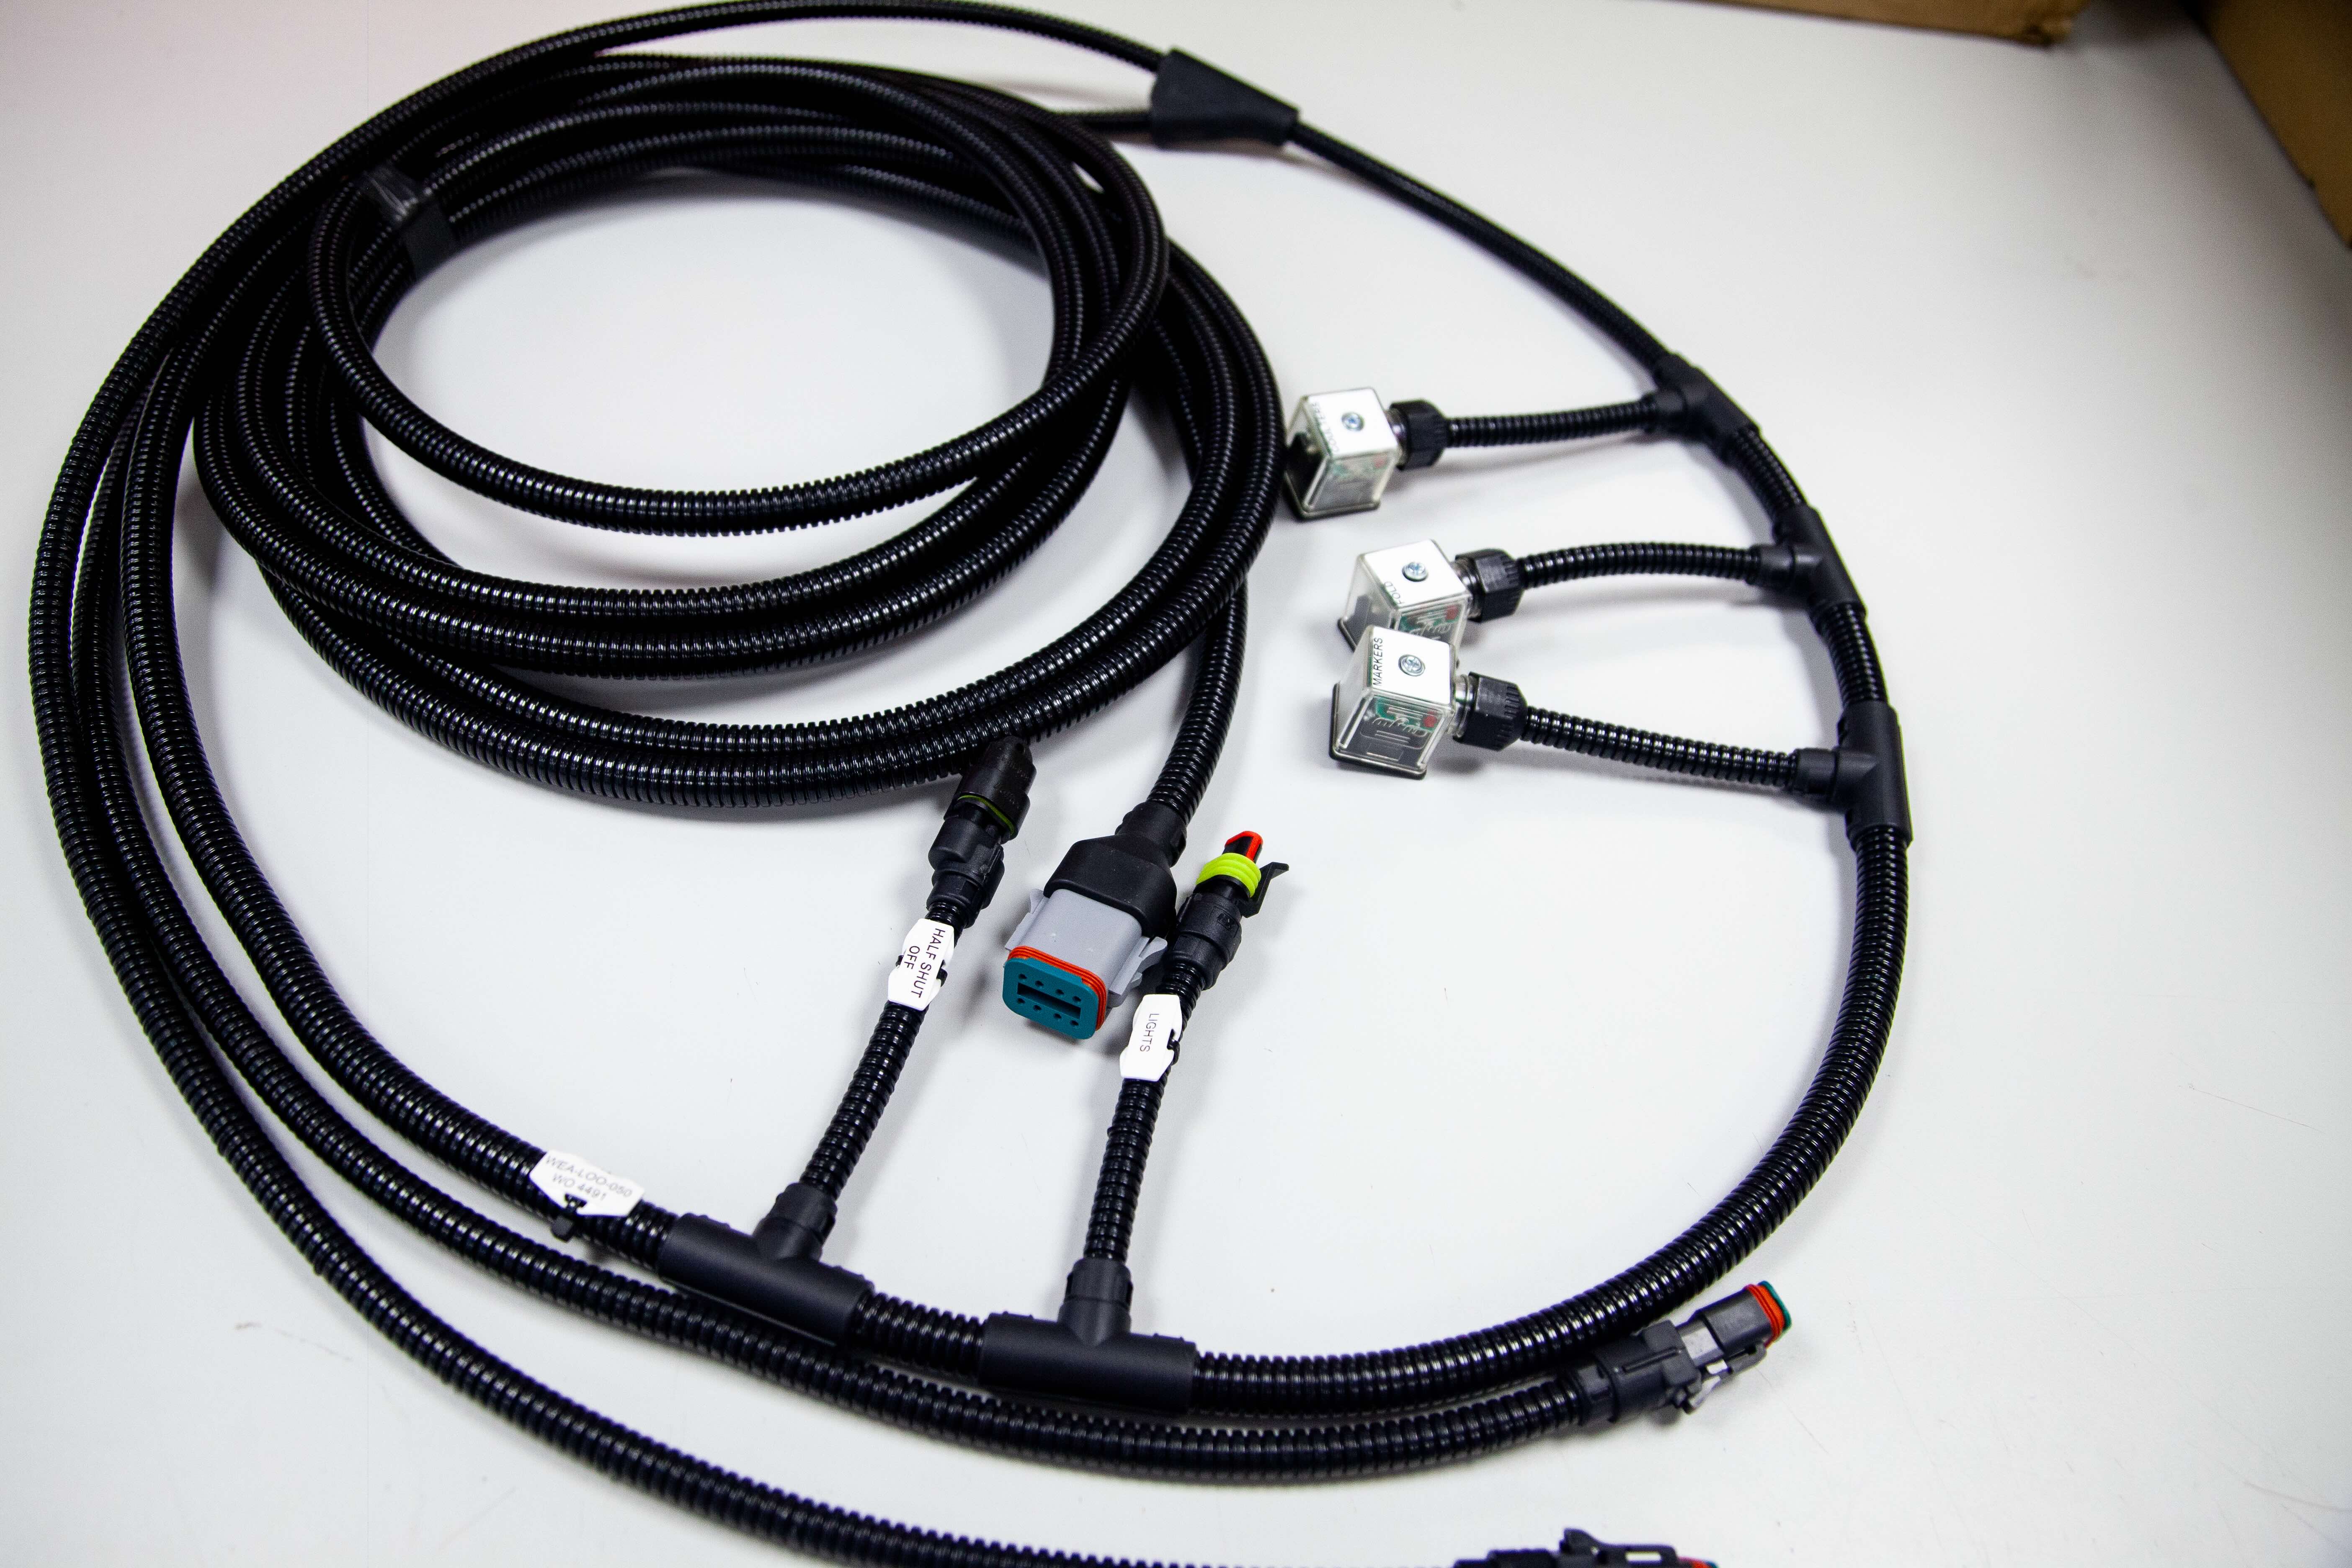
Tec-Stop delivers precise wiring solutions and control panel assemblies engineered for repeatable performance in demanding environments. Our approach centers on disciplined quality, ISO 9001 processes, and clear, scheduled communication so OEMs have confidence in every connection. We build to print or co-engineer, from single-circuit leads to complex harnesses, with traceable, sustainable materials and first-article verification. Sectors such as rail benefit from ruggedized assemblies, labeled conductors, and consistent routing that eases service and inspection. Explore our rail wiring detail at rail wiring assemblies, and see our broader capabilities at Tec-Stop wiring solutions.
Crimping fundamentals and market outlook
Crimping forms a gas-tight, low-resistance joint by plastically deforming a terminal barrel around the conductor strands. For beginners, focus on selection, setup, and verification. Match terminal style and size to wire gauge, confirm die alignment, and set crimp force to the application to resist vibration and temperature change. When using a crimping tool, apply perpendicular, even pressure, then inspect the crimp height, perform a pull test on samples, recalibrate tools on a schedule, and retrain inspectors when terminal or wire batches change. Automation shows the impact of best practice, automotive lines report a 42 percent gain in wiring efficiency, a 25 percent drop in defects, and 33 percent adoption of advanced crimping automation. Global demand reflects this direction, with wiring and crimping equipment markets tracking roughly 6 percent CAGR through 2030 across telecom, rail, and electrified mobility.
Essential Crimping Tools for Beginners
Manual vs. hydraulic crimpers
Manual, plier style crimpers suit small to mid gauge conductors and low volume tasks, and ratcheting versions help ensure a full cycle before release. Hydraulic crimpers generate higher force with minimal effort, appropriate for large lugs and feeder terminations. Typical hydraulic heads accept hex or indent dies and cover roughly 16 mm² to 400 mm² conductors. Select by conductor size and duty cycle, for example manual ratcheting for 14 AWG panel work versus hydraulic for 2/0 AWG battery cables. Compare capabilities in this manual vs. hydraulic crimping tools guide.
Maintenance and calibration for quality
Quality crimps depend on a tight, aligned tool. Inspect jaws and dies for wear or burrs, check pivot pins for play, and keep the tool clean. Apply light oil to moving joints, wipe excess before production, and store dies dry to prevent rust. Verify die alignment and crimp force by checking crimp height or performing documented pull tests, adjusting if results drift. Set a calibration interval, often annually or by cycle count, and retain certificates for traceability. For a quick checklist of inspection and lubrication points, see these tips for maintaining a crimper. Strong process control in automated crimping has produced 42 percent higher wiring efficiency and 25 percent fewer defects, underscoring the value of accurate force and alignment.
Safety when using crimping tools
Wear eye protection, secure the workpiece, and keep fingers outside the die area. When using a crimping tool apply even, perpendicular force, and only use dies that match the terminal code and wire gauge. For hydraulic models, verify the pressure relief works, seat the lug fully, and release pressure slowly. Prepare the conductor correctly, strip to the specified length without nicking strands, then crimp and perform a gentle pull test. Lock out and tag damaged tools, and retrain operators when terminals or wire batches change to maintain consistency.
Step-by-step Guide to Using a Crimping Tool
Preparing and setting up your crimping station
Begin by organizing tooling and materials by wire gauge and terminal family, then label bins so the correct parts are always within reach. Verify strip length against the terminal data sheet, typically matching the wire barrel length so strands are fully captured without exposed copper. Inspect the crimper for wear, clean jaws, and check that the ratchet releases only after full closure. As a baseline program, clean moving joints every 500 crimps, lubricate monthly, and calibrate annually or after roughly 10,000 cycles to maintain consistent results. When using a crimping tool, apply a repeatable process, including a first-article check at the start of each lot and a documented strip-length gauge. A tidy, well lit bench with a parts map and ESD-safe surface supports reliable wiring solutions and consistent assemblies.
Selecting the right die alignment for varying applications
Match the die set to both terminal style and wire size, for example using the specific cavity for 18 AWG insulated ring versus an open-barrel F-crimp. Align dies so they close parallel with no daylight, and orient the terminal correctly, seam positioned to avoid splitting under the indent. For open-barrel terminals, place the conductor wings in the conductor die and the insulation wings in the insulation die, then verify bellmouth formation. Follow terminal drawings for crimp height and orientation, and reference independent guidance on die alignment quality and performance. Die alignment is foundational to uniform force application and minimizes rework.
Adjusting crimping force for reliability under different conditions
Set initial force using the tool’s adjustment wheel or hydraulic pressure setting per the terminal specification, then validate with test crimps. Perform a pull test and visual inspection for full barrel fill, no strand cut, correct bellmouth, and no cracked insulation. Increase force one detent at a time if you observe slippage, and decrease if there is conductor damage. In high vibration or temperature cycling, prioritize full conductor compression, proper insulation support, and add heat-shrink for strain relief. Retrain operators and reverify force whenever wire lot or terminal batches change. Well controlled force and alignment, supported by documented checks, mirror the gains seen in automated crimping, which has delivered up to 42 percent higher efficiency and a 25 percent defect reduction in automotive assemblies, giving OEMs confidence in every connection.
Crimping Best Practices and Industry Examples
Precision in Tec-Stop wiring solutions
Tec-Stop treats every crimp as a controlled mechanical joint, not a cosmetic squeeze. Our process control begins with terminal and wire pairing, we only run combinations validated for gauge, strand class, and insulation support to prevent conductor damage. Die alignment and crimp force are verified at setup using crimp height gauges and witness samples, then monitored through the build with first article and periodic checks logged to lot numbers. For volume work, our Strip, Crimp and Termination services standardize strip lengths, bellmouth, and insulation support, which improves repeatability for beginners and experienced assemblers alike. Where larger conductors or lugged terminations are required, our Heavy Duty Crimp Press services maintain uniform compression along the barrel for low resistance joints. Across industry reports, advanced crimp automation has delivered a 42 percent uplift in wiring efficiency and a 25 percent defect reduction, and about one third of automotive OEMs have already adopted it, trends we leverage when selecting tooling paths.
Industry examples that show the method
A recent control-panel assembly for a food-processing OEM required 18 AWG to ring terminals with ingress protection. We validated the terminal family on incoming wire lots, held crimp height within tolerance across shifts, and recorded zero field failures through 12 months of vibration and washdown service. In an agricultural harness, sealed 12 to 16 AWG splices saw cycle time reduced by 30 percent after we introduced a setup checklist and crimp force monitor thresholds, while first pass yield held above 99 percent. For a marine power assembly with 2 AWG battery cables, heavy-duty hex dies and two-step insulation support produced consistent millivolt drop in 150 amp bench tests, supporting reliable starts in cold environments. These results come from disciplined setup, measured verification, and traceable documentation.
Consistency tips with practical engineering detail
Match terminal style and size to the exact wire gauge and insulation diameter, then verify with a go and no-go check before production. Clean applicators daily, inspect dies for chips or flattening, and calibrate crimp tools on a defined interval so release only occurs at full compression. When using a crimping tool apply steady, perpendicular force, avoid twisting, and confirm crimp height and bellmouth on first articles. Use a small sample pull test per lot change, retrain inspectors whenever wire or terminal batches change, and record results to a simple control plan. These habits stabilize build quality and set up the inspection steps that follow.
Hands-on Practice and Next Steps
Build targeted skills
Focus on three fundamentals: correct terminal to wire pairing by gauge and strand class, die selection with precise alignment, and controlled crimp height. Review tool categories so you know when to choose ratcheting or hydraulic leverage, see this overview of crimp tool types. When using a crimping tool apply consistent, repeatable force verified by a full cycle mechanism, then confirm dimensions using a micrometer or crimp height gauge. Run a 10 piece first article with visual criteria and pull tests per your work instruction, and maintain tools with cleaning, lubrication, and scheduled calibration, retraining inspectors whenever wire or terminal lots change.
Practice with small DIY builds
Create a 12 V LED harness with 18 AWG stranded wire, insulated ring terminals, and a 5 A inline fuse to practice strip length and strain relief. Assemble a short Ethernet patch cable and verify jacket strip control and T568B order with a continuity check; a beginner guide to versatile crimp tools helps match dies to tasks. Try an automotive pigtail repair on 16 to 20 AWG using sealed butt splices, then log crimp height, heat profile, and pull test results across three samples. When changing terminal families, review interchangeable die options and gauge compatibility so compression profiles remain within specification.
Leverage Tec-Stop for accuracy and efficiency
Tec-Stop supports pilot builds and production with calibrated presses, documented die alignment, crimp force monitoring, and ISO 9001 quality controls for traceable results. Advanced crimping automation has delivered a 42 percent improvement in wiring efficiency and a 25 percent reduction in defects in automotive applications, and about 33 percent of OEMs have adopted these methods. We translate those gains to your assemblies through short capability studies targeting Cpk of 1.33 or higher, routine pull testing, and optional microsections to validate conductor compaction and bellmouth formation. Next steps, send a small batch of your wire and terminals for a pilot run and request a concise capability report with photos and measured data, or engage us to prepare pre-terminated leads to accelerate your build schedule.
Conclusion: Building Confidence Through Precise Crimping
Strong, repeatable crimps are the foundation of reliable wiring solutions. A proper crimp creates a cold-welded, gas-tight joint that resists micro-movement, corrosion, and heat cycling. Quality starts before the squeeze, match terminal style and barrel size to the wire gauge and strand class, set the die, verify alignment, and confirm crimp force. When using a crimping tool, apply consistent, full-cycle pressure and then verify crimp height or conductor brush-out. In production environments, these controls reduce variation and defects; advanced automation has shown 42% improvements in wiring efficiency and 25% fewer defects in automotive applications. Whether manual or automated, uniform crimps protect assemblies from vibration and temperature extremes.
Tec-Stop maintains quality through documented setups, tool maintenance, and in-process checks. We clean dies about every 500 cycles, lubricate pivots monthly, and calibrate tools annually or after approximately 10,000 crimps, then lock settings to the part number. We sample pull tests by batch, retrain crimp quality monitors whenever terminals or wire lots change, and record die codes and crimp height ranges to ensure traceability. For beginners, schedule short daily practice runs with three wire gauges, measure crimp height with a micrometer, and keep a visual accept/reject board aligned to IPC/WHMA-A-620. Stay current with trends like die sensing, force monitoring, and sustainable material choices; about one third of automotive OEMs have adopted advanced crimping automation, and the practices translate well to low-volume builds. With steady practice and clear process control, Tec-Stop gives OEMs confidence in every connection.